NITRO Studio CDN update for SP On-Premises (2013, 2016, 2019, and SE)
Applies To: SharePoint On-Premises (2013, 2016, 2019 (Classic and Modern), and SE)
NITRO Studio Version: NITRO Azure
Description
This article describes the steps to update CDN references in NITRO Studio activated sites.
Summary of steps:
- Update NITRO Studio solutions in the SharePoint server
- Update NITRO Studio Modern webpart apps
Note: Ignore this step if you are not using SharePoint 2019 Modern experience.
- Update NITRO Studio in the NITRO activated sites
Detailed Steps:
1. Update NITRO Studio solutions in the SharePoint server
- Download the latest NITRO Studio solutions. Please contact Crow Canyon Support (crowcanyonsupport@crowcanyon.com) for latest NITRO Studio packages.
- Update the downloaded solutions in the SharePoint server
Refer instructions to update NITRO Studio solutions in the SharePoint server from: https://www.crowcanyon.help/article/381/
2. Update NITRO Studio Modern webpart apps
Update NITRO Studio Modern Apps in App Catalog Site
Note: Perform this step only If you are using NITRO Modern UI solutions in SharePoint 2019, otherwise ignore this step.
- Download the latest NITRO Studio modern webpart apps. Please contact Crow Canyon Support (crowcanyonsupport@crowcanyon.com) for latest package.
- Upload the apps to the app catalog site
- CrowCanyonNITROSPFxWebParts.sppkg
- CrowCanyonNITROWebPartsII.sppkg

Deploy the apps.
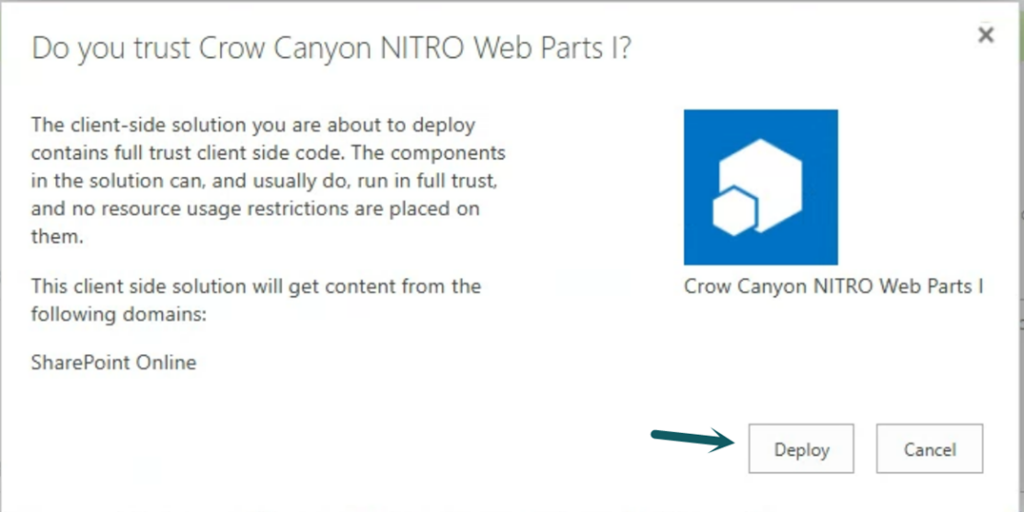
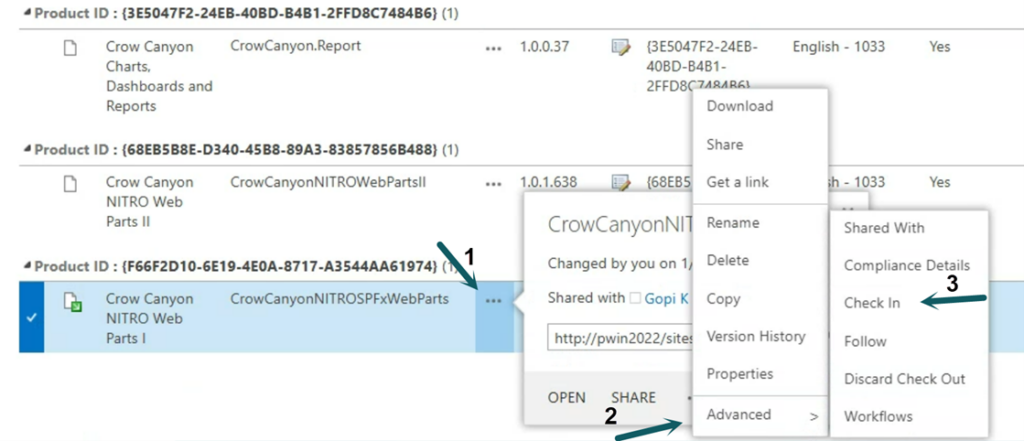
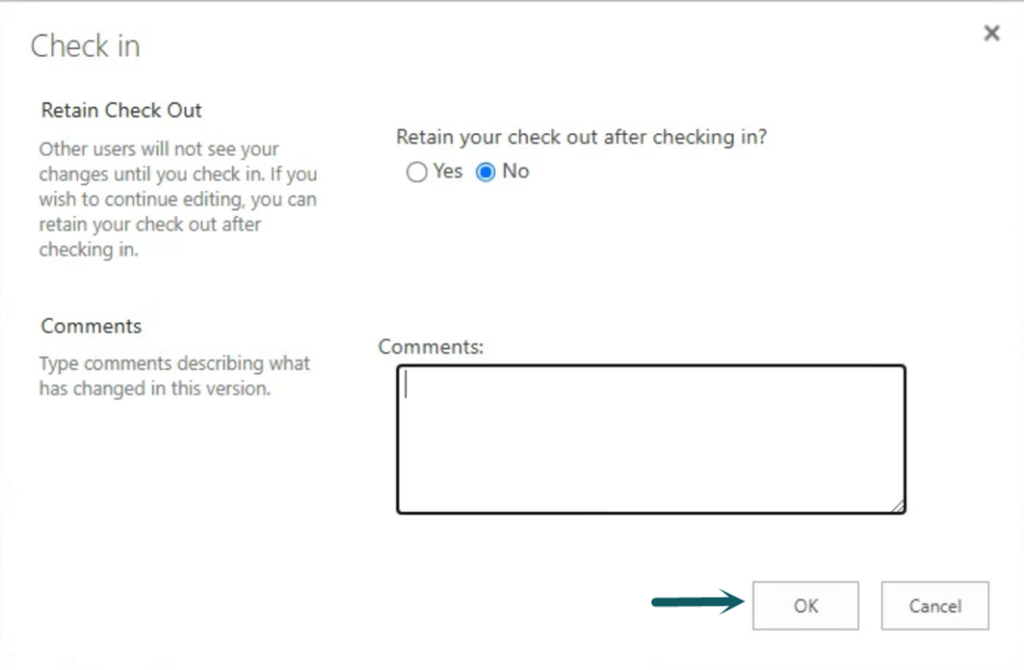
Update NITRO Studio modern apps in the NITRO activated sites
1. Update NITRO Studio Modern Webpart apps in all NITRO activated sites that uses SharePoint modern experience.
Go to the Site Collection -> Settings (click gear icon) -> Crow Canyon NITRO Studio

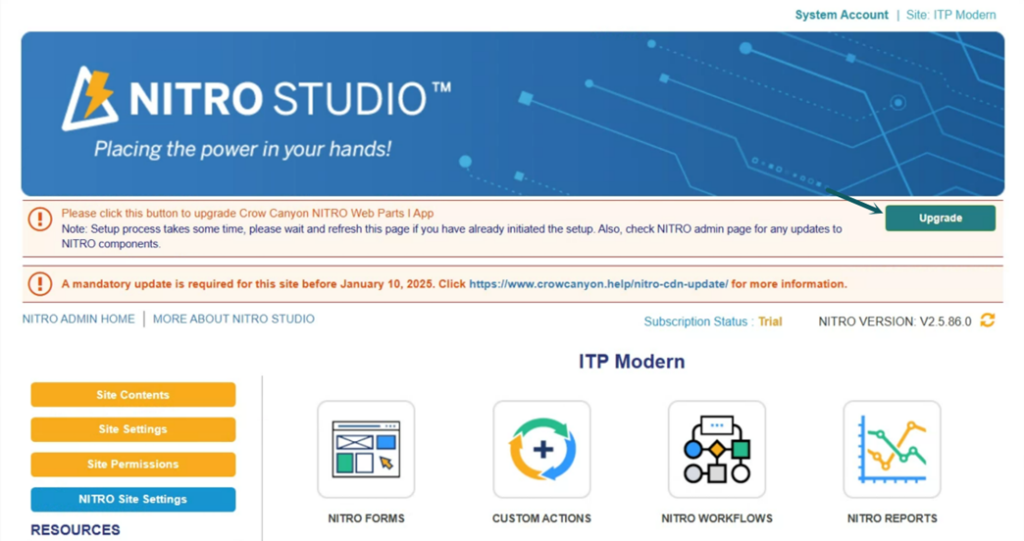
Click ‘Manage’ link in the NITRO Studio Admin Home page, this will navigate to the NITRO apps page for the site.

Click ‘Upgrade’ button to update the NITRO Studio modern webpart apps in the site
Note: Update NITRO Studio Modern Webpart apps in all NITRO activated sites that uses SharePoint modern experience.
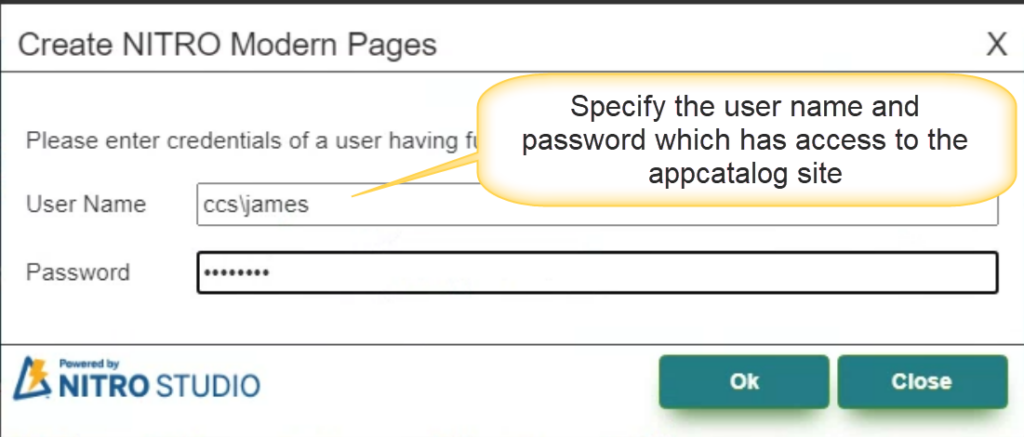
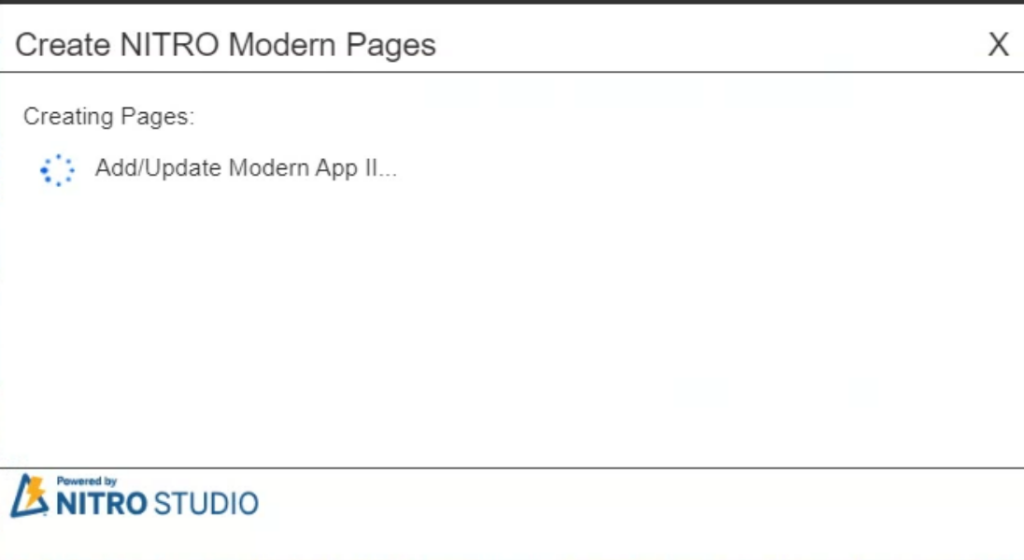
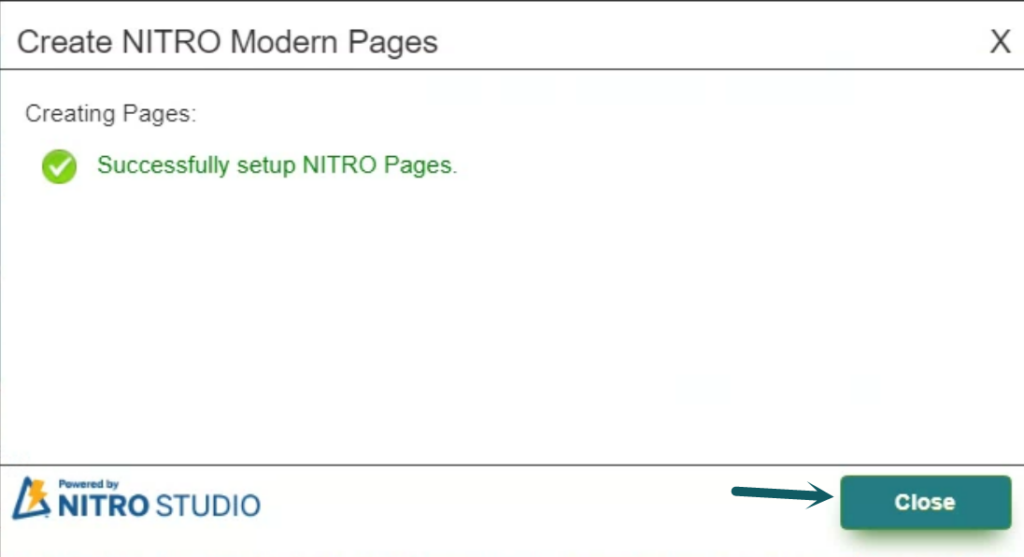
When the process is completed, you will see this message, click the Close button.
3. Update NITRO Studio in the NITRO activated sites
Note: If you are using NITRO Modern UI solutions in SharePoint 2019, then please ensure that you have completed the step #2 above.
After updating the NITRO Studio solutions in the SharePoint server, go to the Site Collection -> Settings (click gear icon) -> Crow Canyon NITRO Studio

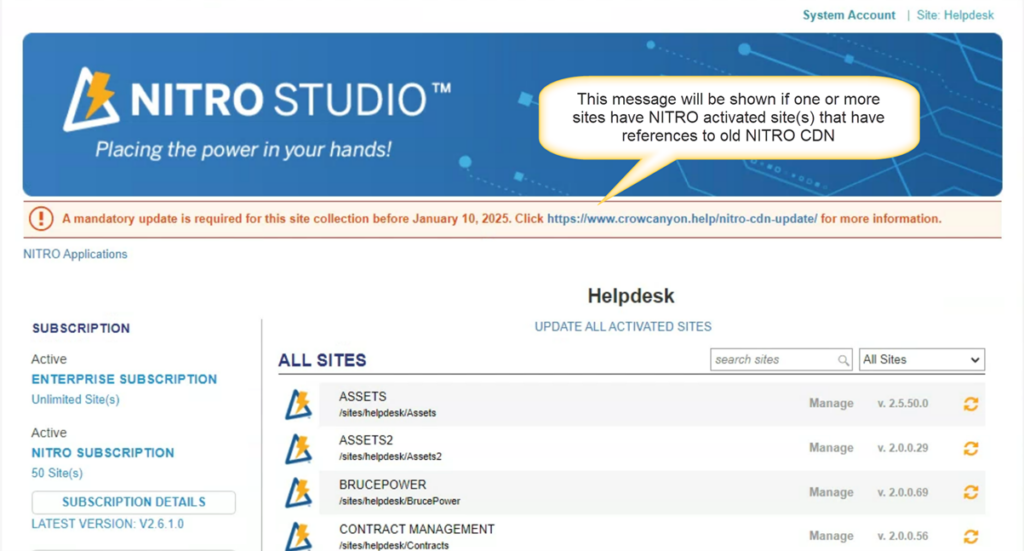
You can update NITRO Studio in below ways:
- Update All Activated Sites
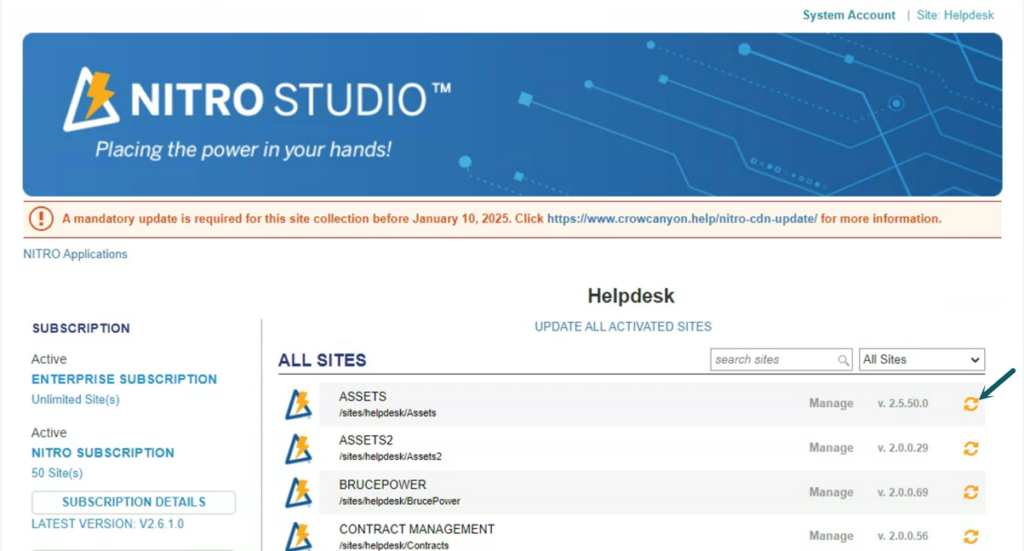
- Update one site at a time
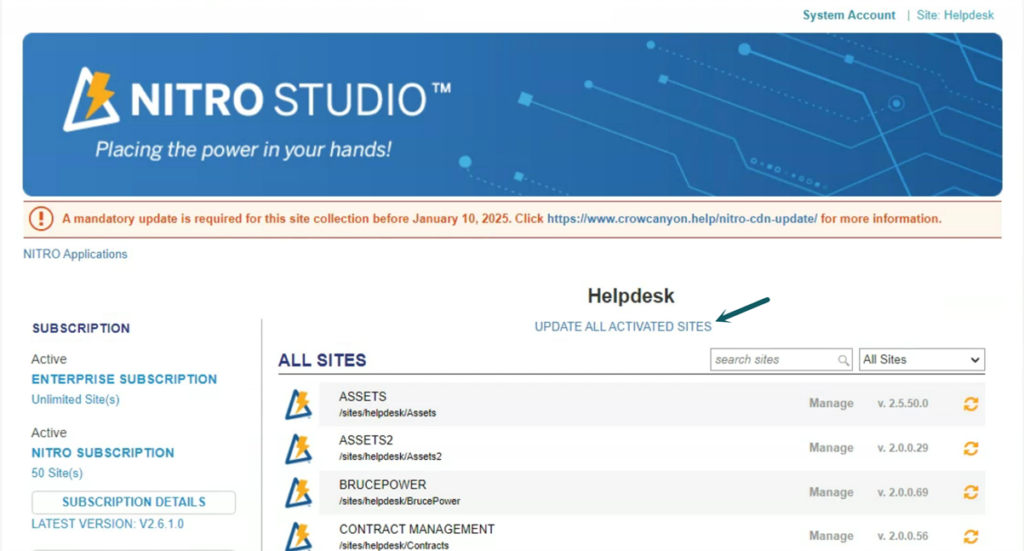
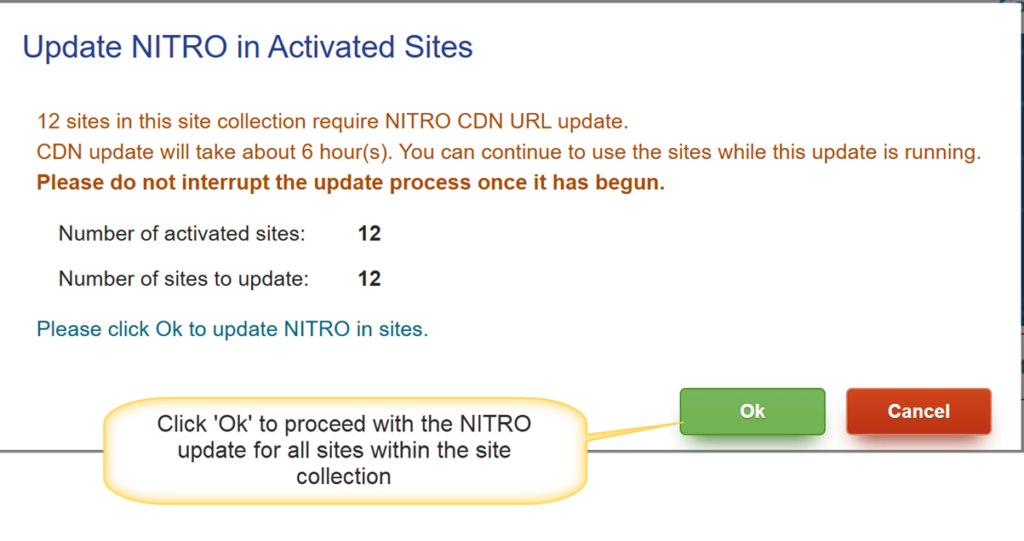
Update All Activated Sites
Perform a bulk update for all sites where NITRO Studio is activated within a site collection. This is the recommended method for this update.
Update one site at a time
Update NITRO Studio for a single specific site in this site collection. This method can be used out of an abundance of caution, or, if an error occurs or the update times out for some reason when updating All Activated Sites.
Troubleshooting steps for NITRO Activated sites
- If you receive below error message during the CDN update, then increase the max JSON length for the web application by referring to article: https://www.crowcanyon.help/article/283/

- Issue: Icons not visible/displayed properly in NITRO List Views, List Rollup, List Search webparts and NITRO forms etc..
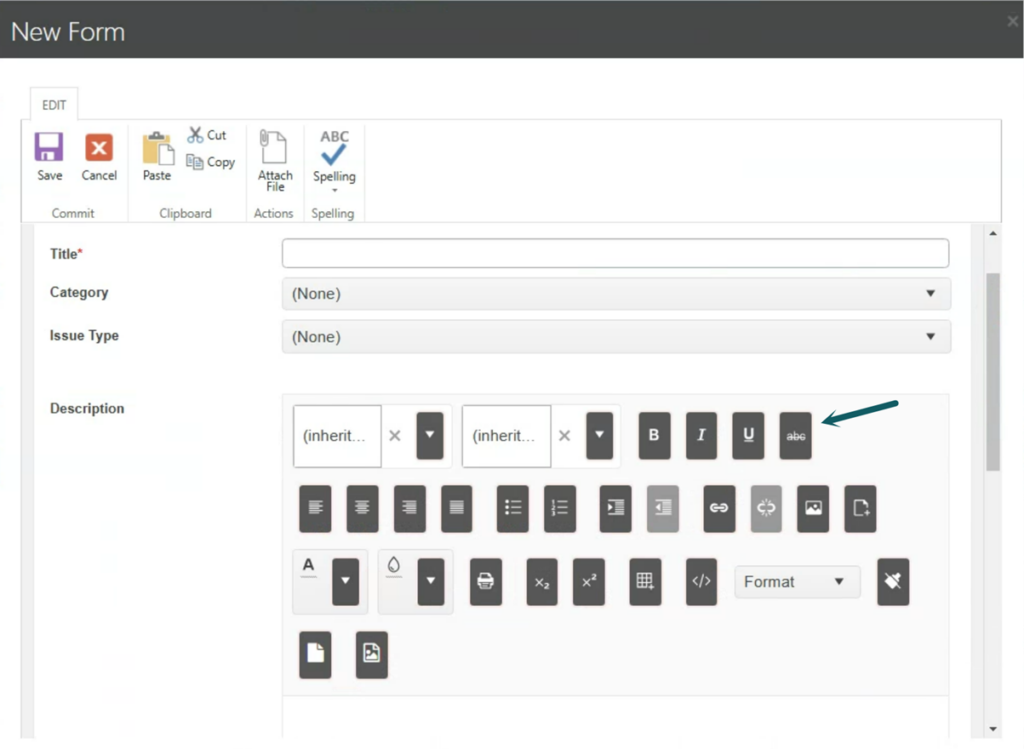
Fix: Reapply the Crow Canyon Classic Branding for the site.
Remove Branding for the site:
Go to the CDN updated site -> Site Settings -> Crow Canyon Branding (Classic Sites) -> Remove Branding for the site as shown below:
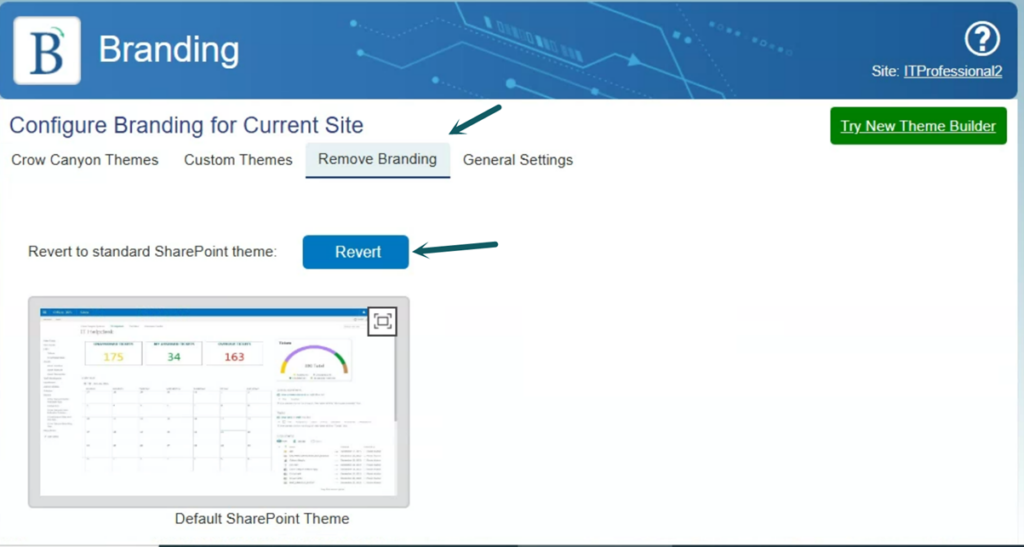
Apply Branding for the site:
Click ‘Try New Theme Builder’ in the Branding and apply the branding as needed.

